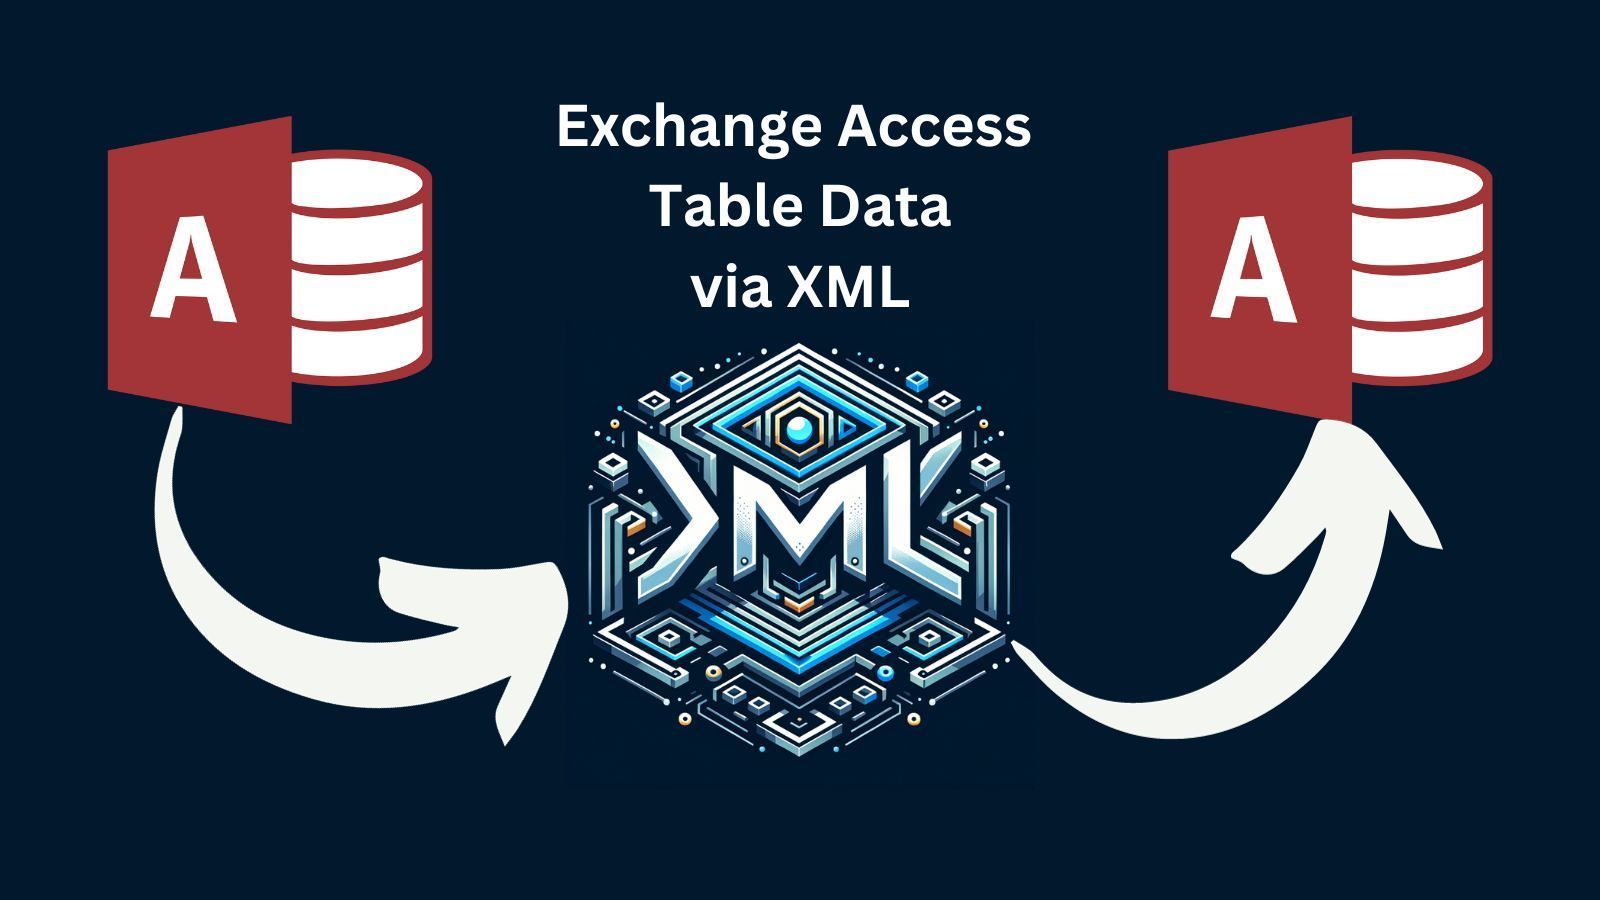
Use XML to Share Access Table Data and Avoid Internet Warnings
Anti-virus software and Microsoft policies make it harder than ever to share table data among Access users. The XML format is a simple way to avoid those roadblocks.

Sharing table data with others online is often harder than it should be.
In this article, we'll discuss the pros and cons of several options. However, if you're not interested in the discussion, the following links will take you straight to the step-by-step instructions for my preferred Microsoft Access table data sharing format: XML.
One of my goals for this article is to provide a reference point that you can share with others when you need to exchange table data in an online forum or other similar situations.
Discussing the Options
Let's briefly consider the various options:
Access Files (.accdb/.mdb) Are Too Risky
The potential for embedding malicious code in an .accdb or .mdb file makes those file types risky, especially when you receive them from unknown third parties. In fact, Microsoft itself makes you jump through extra hoops before you can open these file types now.
 Mike Wolfe
The thing is, if all you want to do is share table data with another user, using a file format with the potential to include malicious code is unnecessarily risky. From a security perspective, it's simpler if everyone sticks to a format that doesn't support executable code.
A simple text format seems like a good option.
CSV Files Are Too Ambiguous
The immediate format that likely comes to mind is CSV.
The problem with CSV is that there is no standard format. CSVs can have trouble dealing with embedded quotes or line breaks in strings, leading zeroes in strings that look like numbers, etc. If you send someone a CSV, you have to tell them a bunch of extra information about how it needs to get imported.
Not efficient at all.
JSON Is All the Rage in 2023!
Ha! Tell that to Microsoft.
Microsoft is too busy shoving Dataverse support down our throats to bother adding native support for arguably the world's most ubiquitous text-based data interchange format in 2023: JSON.
And since I'm focused on Microsoft Access users on this blog, JSON is, sadly, not an option.
XML: The Least Bad Option
As Winston Churchill liked to remind the world, "Democracy is the worst form of government, except for all the others."
For our purposes here today, that's how I feel about XML.
By default, exporting a table to XML from Access will result in two different files per table and both files must be in the same folder when importing, which is annoying:
*.xsd: the table definition*.xml: the table data
However, there is a somewhat hidden option that allows you to combine the two files into a single *.xml file. This is convenient, but it does result in additional steps for the exporting party.
XML is not the most compact format, which makes it harder to read when viewed in Notepad than, say, a CSV file.
It's also excessively verbose, making for larger file sizes (one of the reasons JSON has largely replaced it for many use cases).
As a data interchange format, it has two critically important qualities:
- Safe and easy to share
- Simple to export and import
To reduce the file size and make it easier to share with others, you can put the exported file(s) into a zip file. It generates some risk for the receiving party because it's not clear what file types are inside the zip file. That said, you can get very good compression by zipping XML files (in general) and extremely high compression zipping Access table data export XML files (in particular).
Exporting XML Step-By-Step
Here are step-by-step instructions on how to export Access table data to XML:
-
Open your database in Microsoft Access and click on the relevant table you want to export in the Navigation Pane.
-
Click on the 'External Data' tab in the Ribbon at the top.
-
In the 'Export' group, click on 'More' and select 'XML File'. This will start the Export XML Wizard.
-
In the 'Export XML' dialog box that appears, choose the location and filename for your XML file. Click [OK] to proceed.
-
On the next screen, confirm the following boxes are checked:
- [√] Data (XML)
- [√] Schema of the data (XSD)
- [_] Presentation of your data (XSL)
-
Then click [More Options...] to open the "Export XML" dialog
-
Click on the _| Schema |_ tab
- Confirm the following boxes are checked:
- [√] Export Schema
- [√] Include primary key and index information
- [√] Export all table and field properties
- [√] Export Schema
- Change "Export Location" to:
- (•) Embed schema in exported XML document
- (_) Create separate schema document
- Confirm the following boxes are checked:
-
After selecting the appropriate options, click [OK].
-
The export operation will be performed, and a progress window will appear. Once the export is complete, click [Close].
-
The XML file containing your exported data will be created at the location specified.
The XML file can be opened with any text editor or XML viewer. It represents your table data in a structured, text-based format that can be read by many different types of software. Most importantly, though, it can be read by Microsoft Access itself, as we will cover in the next section below.
Also, please note that these steps apply to Microsoft Access 365 (tested on Version 2311), and the process may vary slightly for different versions of Access.
OPTIONAL: Reduce the XML File Size
If the resulting XML file from the previous steps is too big, you can reduce it by sending it to a zip folder. The instructions vary slightly for Windows 10 vs. Windows 11:
Windows 10
- Navigate to the location of your XML file in File Explorer.
- Right-click on the XML file.
- Hover over the 'Send to' option in the context menu.
- Click on 'Compressed (zipped) folder'.
- A new zipped folder with the same name as the XML file will be created in the same location. You can rename this folder if you wish by right-clicking it and selecting 'Rename'.
Windows 11
- Open File Explorer and go to the location of your XML file.
- Right-click on the XML file.
- In the context menu, click on 'Show more options'.
- Hover over the 'Send to' option in the expanded context menu.
- Click on 'Compressed (zipped) folder'.
- A zipped folder with the same name as the XML file will be created in the same location. If you want to rename this folder, right-click it, click 'Rename', and enter the new name.
These zipped files can then be shared more easily, especially through email or other platforms that have file size restrictions.
Importing XML Step-By-Step
The following step-by-step instructions assume that you have received an .xml file from someone who followed the "Exporting XML Step-By-Step" instructions above.
Depending on the size of the exported XML file, you may have received the XML file itself or a zip file with the XML embedded in it. If you received a zip file, you will need to extract its contents first before you can import the XML data into Microsoft Access. Right-click the .zip file and choose "Export all..." to extract the files.
Here is the step-by-step guide considering the scenario where the XML file is from a third party and you want to create a new table:
-
Open the database where you want to import the XML data in Microsoft Access.
-
Click on the 'External Data' tab in the Ribbon at the top.
-
In the 'Import & Link' group, click on 'New Data Source', then hover over 'From File'. A dropdown menu will appear; select 'XML File'. This starts the Import XML Wizard.
-
In the 'Get External Data - XML File' dialog box, browse to the location of the XML file that you want to import, select it, and click [OK].
-
Access will analyze the XML file and provide you with import options. Since you're importing a table from a third-party, select the 'Structure and Data' option. This will create a new table based on the data and structure in the XML file.
- (_) Structure Only
- (•) Structure and Data
- (_) Append Data to Existing Table(s)
-
Click [OK] in the 'Import XML' dialog box after confirming the above setting.
-
Access will import the XML data and display a dialog box when the operation is complete. Click [Close] to close the dialog box.
-
The imported data will now be available in the newly created table in your database.
Please note that these steps are for Microsoft Access 365 (tested on Version 2311), and the process may slightly differ in other versions of Access.
Also, remember that for this process to work, the XML file should have embedded schema information (XSD) that provides the structure for the data. If the XML file doesn't have this embedded, Access might still be able to read the schema information from an identically named file with an .xsd extension located in the same folder as the XML file. If no such .xsd file is present, Access may not be able to correctly import the data.
Acknowledgements
- Portions of this article's body generated with the help of ChatGPT
- Stylized XML logo created with DALL-E-3