Access Version Control: A Quick Start Guide
With this step-by-step guide, you'll be using version control with Access in under 20 minutes.


Prerequisites
- TortoiseHg (step-by-step installation guide)
- Microsoft Access Version Control Add-in (step-by-step installation guide)
Identify an Existing Front-End Database
For this example, I'm using the official Contacts template database from Microsoft. However, any existing Access application will do. The add-in handles both .mdb and .accdb formats.
I recommend moving the front-end database file into its own folder in Windows. As you'll see in a minute, the add-in will generate a bunch of additional files when you run the export. Starting with a clean directory makes it easier to see what's happening.
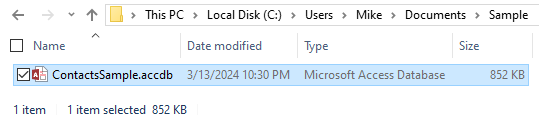
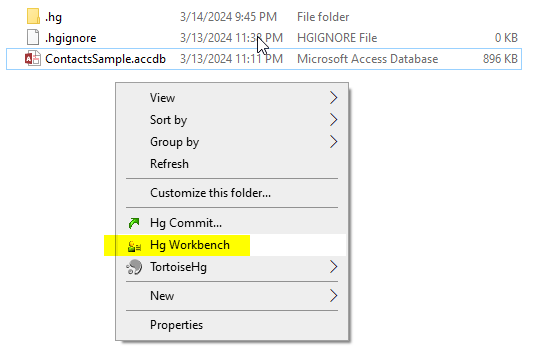
Here's a screenshot of the folder BEFORE exporting to source or creating the Mercurial repository:
Create a New Repository
Using Windows File Explorer, open the folder with your existing .accdb or .mdb file.
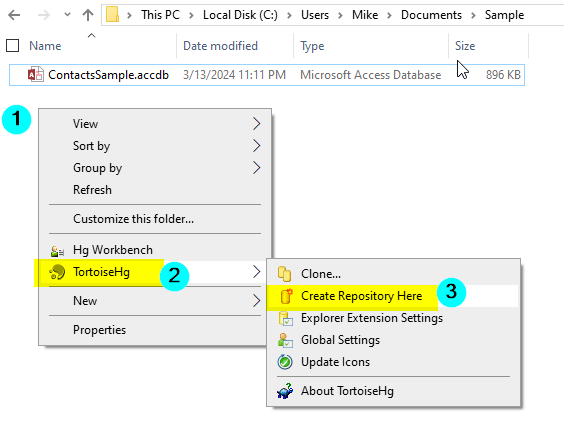
- Right-click on an empty area of the folder (do not click on the file itself)
- Choose TortoiseHg
- Choose Create Repository Here
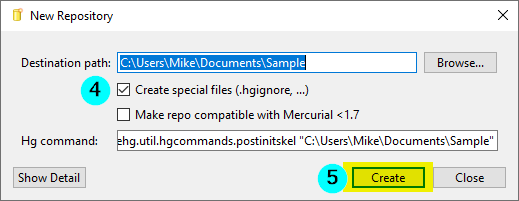
- Verify the box is checked to create the .hgignore file ([√] Create special files)
- Click Create
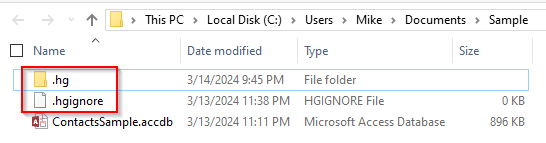
When you click the [Create] button, TortoiseHg will create a new folder (\.hg\) and a new file (.hgignore) in your current folder:
For all intents and purposes, the \.hg\ folder is your repository.
The .hg folder contains all the files and folders that Mercurial uses to maintain your project's full history. DO NOT ADD, EDIT, OR DELETE ANY FILES IN THE \.hg\ FOLDER. That folder is strictly for Mercurial's use.
The .hgignore file tells Mercurial which files to exclude from tracking. More on that in a minute.
Open in TortoiseHg Workbench
The Hg Workbench is the primary user interface for TortoiseHg.
To open the new repository in the Workbench, right-click on an empty area of the folder and choose "Hg Workbench" from the Windows Explorer context menu:
This will open the Workbench, which should look something like this:
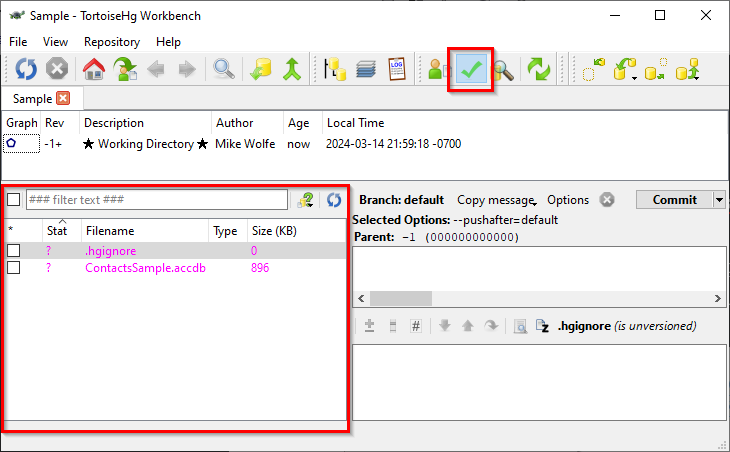
Be sure the "Commit" view is selected. It's the green checkmark with the red box around it in the screenshot above.
For now, we are most interested in the file list in the bottom left corner of the Workbench. In Commit view, this area shows a list of files in the repository and their associated statuses:
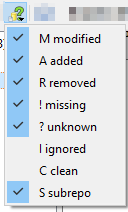
By default, TortoiseHg lists every file in the current folder except for those files that have not changed since the last commit (i.e., "C" for clean) or those that we've told Mercurial to ignore (i.e., "I" for ignored).
Exclude Tracking of Certain File Types
Version control systems like Git and Mercurial are optimized for tracking changes to text-based files. As such, you don't (generally) want to track changes to large binary files. This is especially true of binary files that regularly change, such as Access .accdb/.mdb files.
Remember, we don't need to track the source .accdb/.mdb file itself, because we will be tracking the individual components that comprise the .accdb file. We'll get to that in a minute, but for now we just need to tell TortoiseHg to ignore the .accdb file.
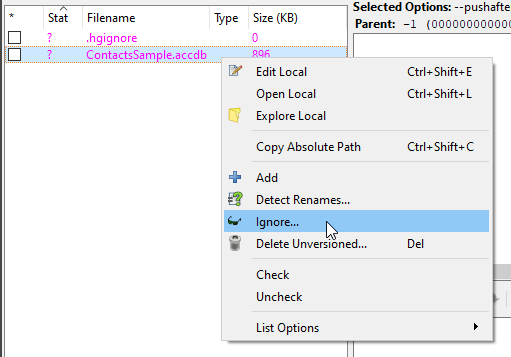
To do that, right-click on the .accdb\.mdb file and choose Ignore...
This opens the "Ignore filter" dialog box:
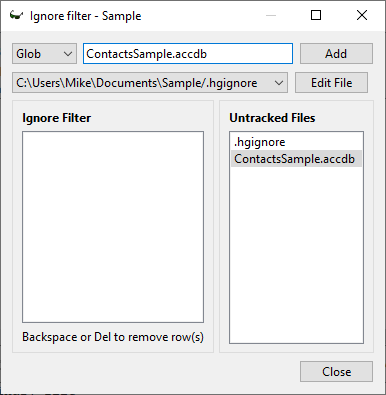
At this point, you could just click the [Add] button. That would add the "ContactsSample.accdb" file to the list of ignored files for this repository.
However, there are certain types of files that we almost always want to ignore. The more efficient approach–especially when working with a new repository–is to use a baseline .hgignore file that handles the ignoring of several files and file types that we don't want to track with Git or Mercurial. I wrote about this concept here:
 Mike Wolfe
To use my recommended .hgignore baseline text:
- Visit https://nolongerset.com/hgignore/#ignoring-files-in-mercurial
- Copy the embedded text that begins "
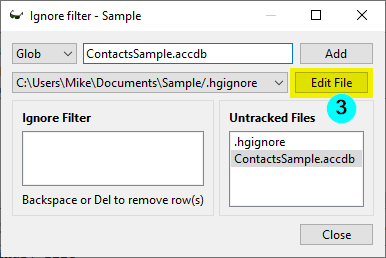
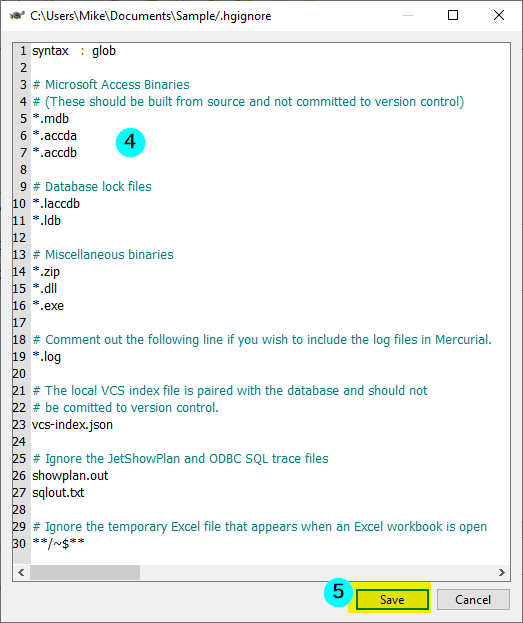
syntax: glob" - Click the [Edit File] button on the TortoiseHg "Ignore Filter" dialog
- Paste the contents of the clipboard into the .hgignore edit window
- Click [Save] to save the changes you made
- Click [Close] to close the "Ignore Filter" dialog
.hgignore baseline file will always be available here.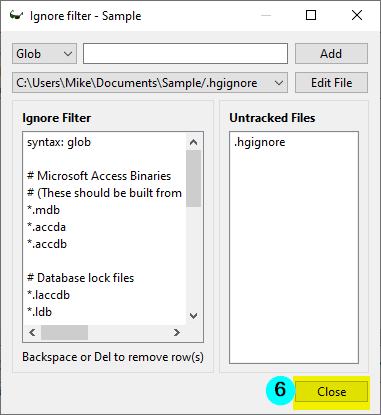
If you did everything correctly, the bottom left area of your TortoiseHg Workbench should look like this:
Notice that "ContactsSample.accdb" is no longer shown in our file list. The file is now being ignored by TortoiseHg.
You should also notice that the bottom right portion of the window has the text of the .hgignore file, because that is the file selected in the file list to the left.
Making the Very First Commit
One of the important concepts of version control is to make many small commits, rather than a few large commits. Additionally, logically-related changes should be part of the same commit.
Every commit requires an accompanying commit message.
Treat this message as though it were a code comment. Remember, a good comment (as with a good commit message) describes why something was done, not what was done (the code itself describes what was done).
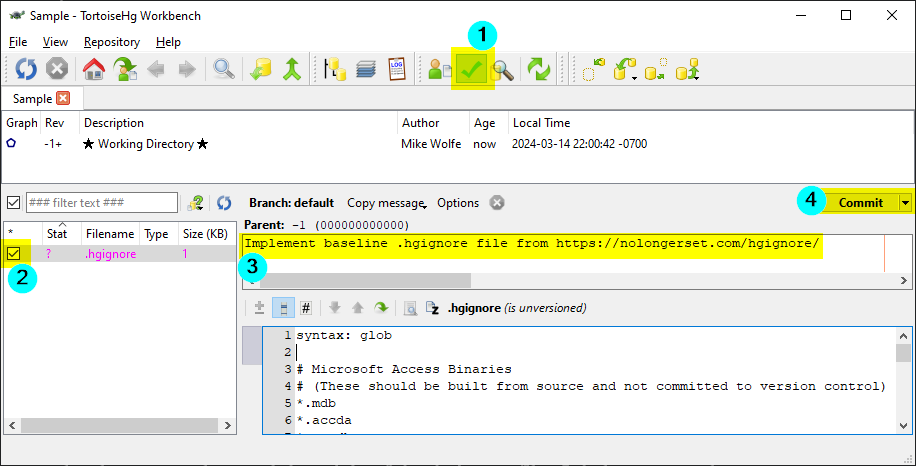
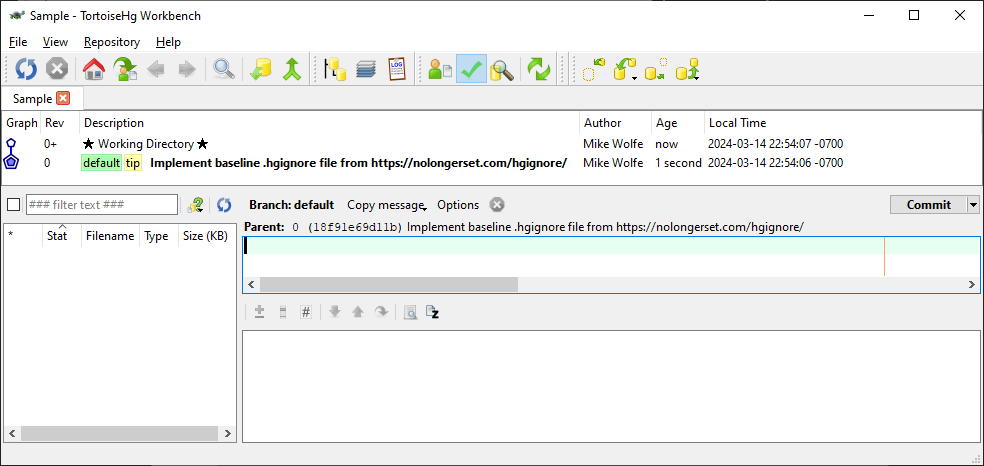
For our first commit, we will be adding the .hgignore file to the repository with the following commit message,
Implement baseline .hgignore file from https://nolongerset.com/hgignore/
Including the link to the website serves an important purpose. It helps a future developer to understand the origin of the .hgignore file. It helps answer the question of why the .hgignore file was configured the way it was.
- Ensure the Commit view is selected
- Check the box next to the .hgignore file
- Enter the commit message from above
- Click [Commit]
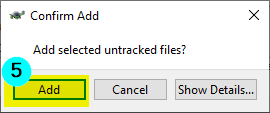
- Click [Add] to add the .hgignore file to the repository
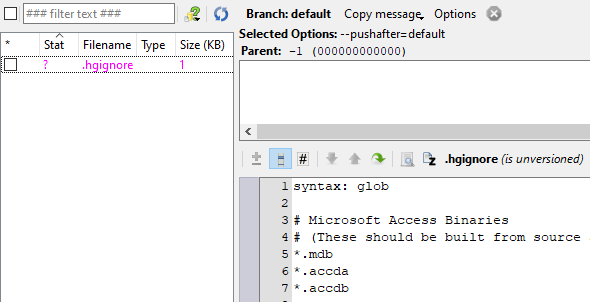
Here's what TortoiseHg Workbench should look like now:
Export to Source
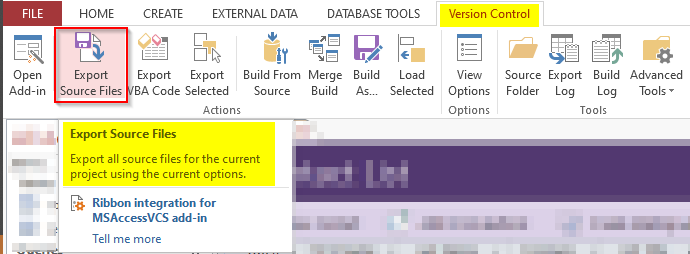
Open the front-end file in Access. Click on the Version Control tab in the Access ribbon. (TIP: If you don't see a "Version Control" tab in the ribbon, be sure you have installed the Version Control Add-in as referenced above.)
Click the "Export Source Files" button on the ribbon:
The add-in will immediately begin exporting the Access forms, reports, queries, and code modules to text files. You will also see a progress form:
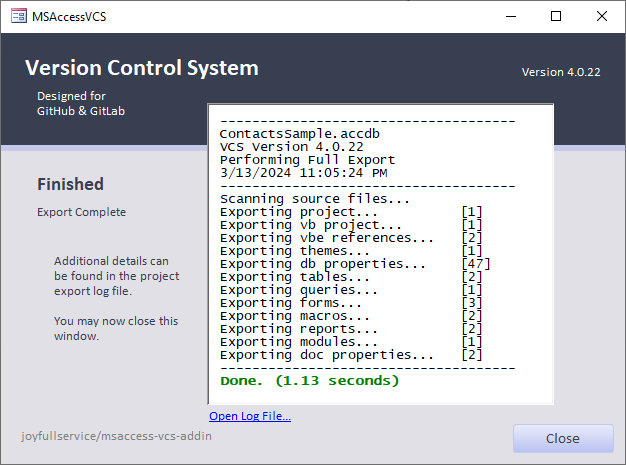
Note that the above confirmation form closes automatically after only a few seconds. If you are not watching carefully, you could easily miss it.
If you go back to the File Explorer folder for your .accdb, you should see a new subfolder created there. The subfolder name will be the same as your front-end file's name but with the letters .src appended:

As with the .hg folder, you shouldn't generally be changing anything in the {MyApp}.accdb.src folder. The files and subfolders in there are managed by the Access Version Control add-in.
Make the Initial Commit of the Access Application
Go back to TortoiseHg Workbench and you will see a whole list of "Unknown" files:
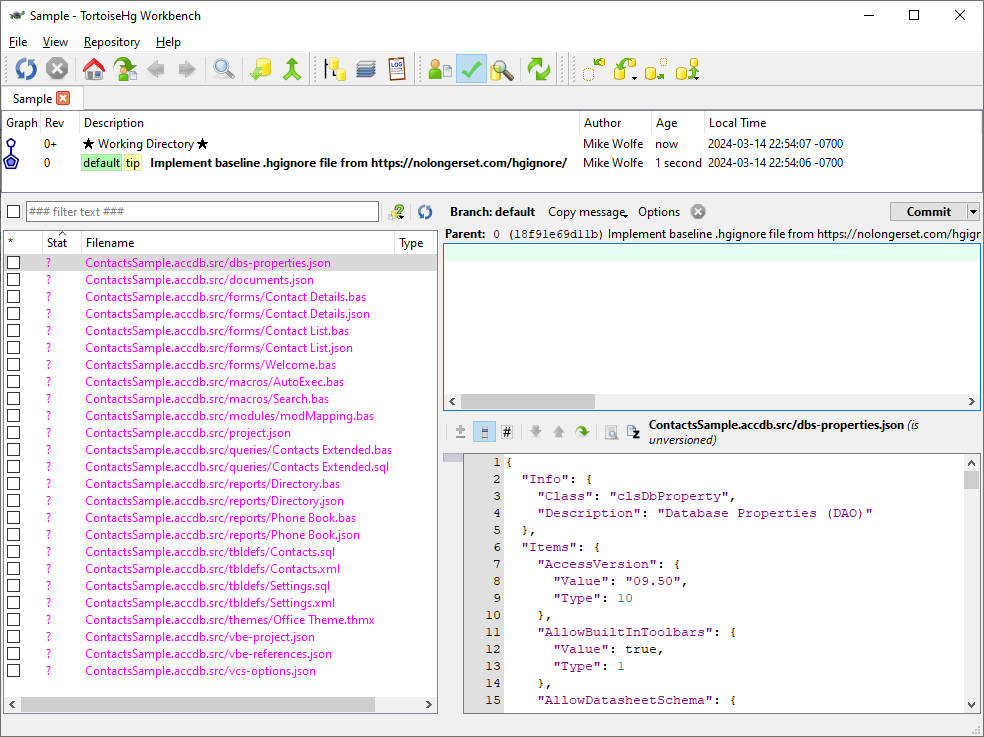
Unknown files in TortoiseHg appear in magenta with a question mark next to their name. They are "unknown" in the context of TortoiseHg because they are not yet being tracked in version control. While we can add them explicitly, TortoiseHg assumes that's what we want to do if the files are checked when we click [Commit].
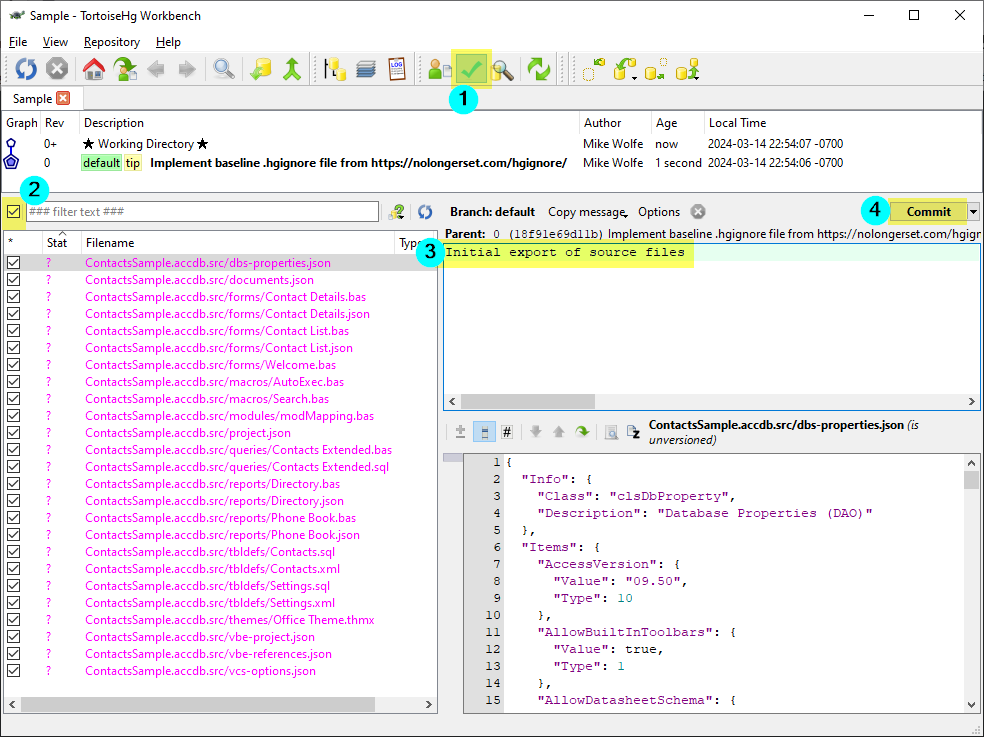
To perform the initial commit of the Access database source code, follow these steps:
- Ensure the Commit view is selected
- Check the box above the file list to select all listed files
- Enter commit message, "Initial export of source files"
- Click the [Commit] button
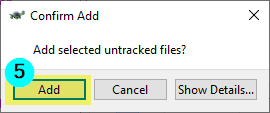
- Click the [Add] button to confirm you want to add the selected items
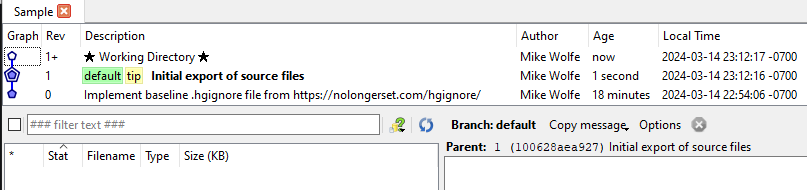
If all went according to plan, your TortoiseHg workbench should look like something like this:
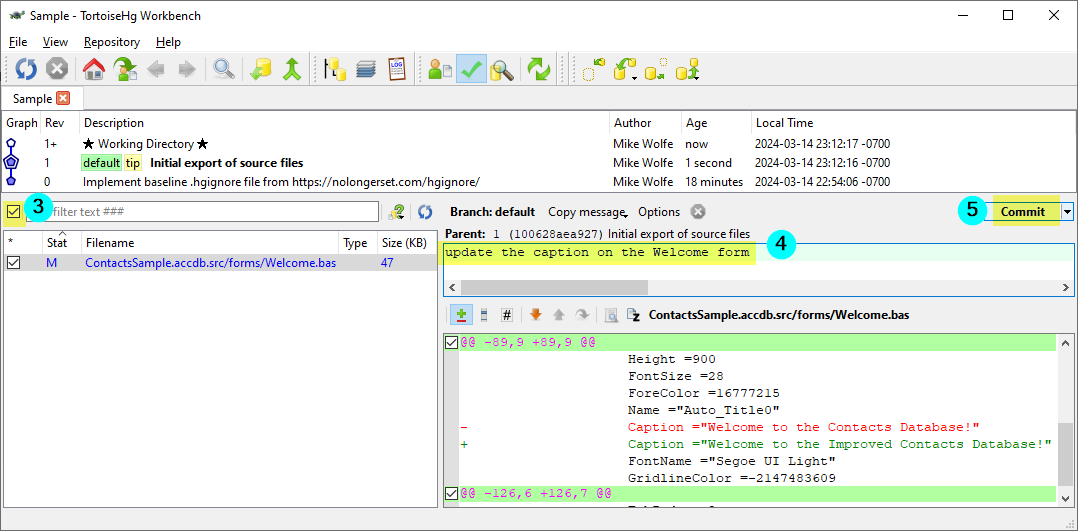
Making Additional Commits
As you make changes to your Access front-end file, simply repeat these steps to capture and document the changes:
- Click the Version Control tab in the Access ribbon
- Click Export Source Files in the Access ribbon
- Refresh the file list in TortoiseHg Workbench (if needed)
- Enter an appropriate commit message
- Click [Commit] to save the changes to the repository
Next Steps
Now that you've got the repository set up and you've established a baseline of file types to ignore, you will mostly just be repeating the five steps in the "Making Additional Commits" section above.
Eventually, you will want to start pushing your repository changes to a remote computer or hosting service, such as Helix TeamHub, which offers free Mercurial repository hosting for small companies and independent developers.
Once you start pushing your repository to other machines, you'll also want to explore rebuilding the front-end file from the source code in your repository. This feature is built into the Access Version Control add-in. It's a huge productivity boon to Access development teams.
You'll also want to explore the fantastic search capabilities of TortoiseHg, which includes the ability to search the entire repository history, filtering by file name, file type, and to use regular expressions for more advanced search queries.
For now, though, just work on establishing a good habit of making frequent commits with thoughtful commit messages to your local repository. Even if that's all you do, you will soon start to see the many benefits of version control. In good time, you'll be motivated to explore those advanced topics and many more.
Photo by Adi Goldstein on Unsplash