3 Tools to Take and Manage Screenshots
A picture is worth a thousand words. Here are three tools that I use to make the process of taking screenshots as smooth as possible.
A picture is worth a thousand words.
A well-annotated screenshot saves hundreds of words of explanatory text. Here are a few tools that I use to make the process as smooth as possible.
Greenshot
Greenshot is one of my favorite things.
It's a free and open source screenshot utility with blazing fast performance. You can automatically send every screenshot to multiple "destinations." For example, here is a list of destinations on one of my devices:
- An auto-named file in OneDrive
- Greenshot image editor
- Windows clipboard
- SnagIt Editor
That's right, I open every screenshot in two different editors: Greenshot and SnagIt.
For quick and dirty annotation, the Greenshot editor is pretty great.
SnagIt
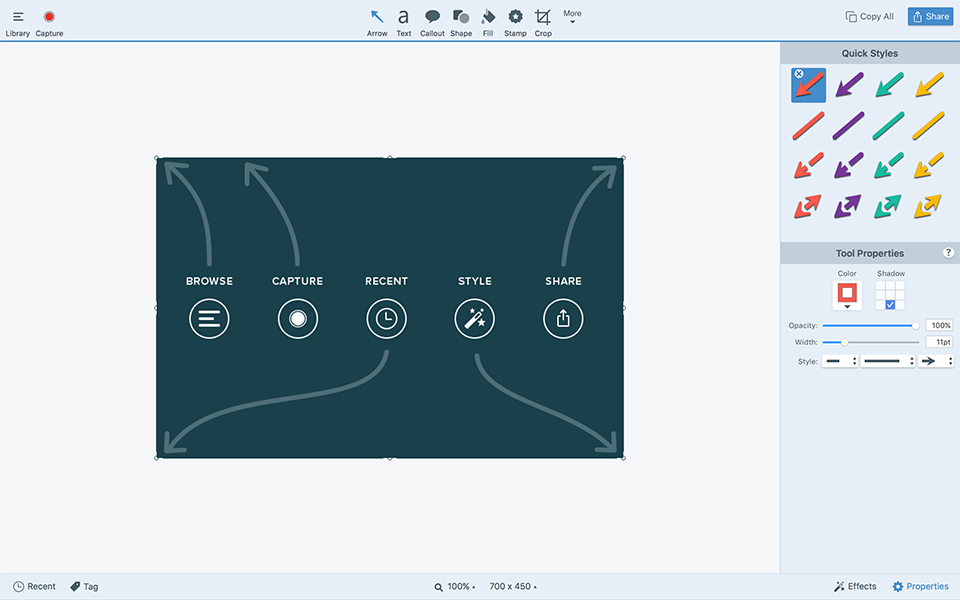
For more advanced screenshot annotation, I find the SnagIt Editor is worth its premium price. Here are some of the tools I use the most:
- Horizontal and vertical cut-out tools: remove excess whitespace
- Bezier (curved) arrows: avoid obscuring text a straight arrow would block
- Simplify tool: color-matched shapes to hide unrelated background screens
- Magnify tool: zoom in on a key part of a screenshot
- Callouts: associate text to graphics with pinpoint accuracy
- Auto-incrementing step counter bubbles
- Grab Text: perform OCR on screenshots to avoid unnecessary typing
(Note: SnagIt Editor is included with the purchase of SnagIt. SnagIt and the SnagIt Editor are two different executables, but both are included with the purchase of "SnagIt".)
Windows Sketch & Snip
Reader Alfred Vachris wrote in with the following tip (shared with permission):
Use windows key+shift+s to capture open dialog and dropdowns...things I can't easily capture with GreenShot.
There seem to be certain situations that are especially tricky to grab screenshots of. In these situations, the item disappears before you can take the screenshot. I typically perform these types of captures by setting a several-second delay in Greenshot. That gets annoying real quick, though.
Alfred's tip sounds promising. Now I just have to remember to use it the next time I bump into one of these annoying edge cases.
Everything
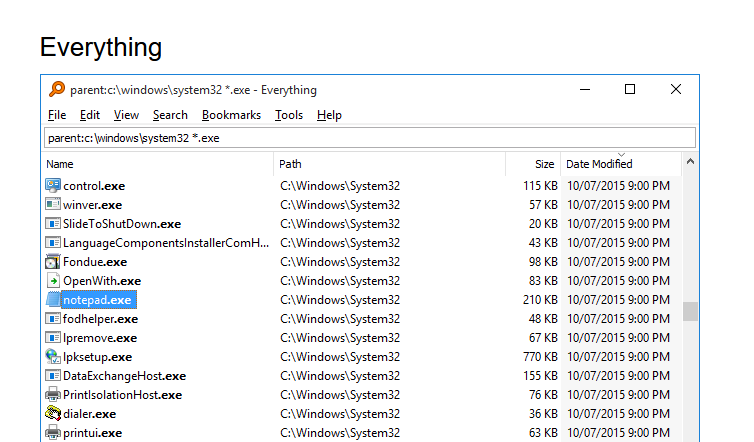
The Everything utility is not a screenshot tool itself. However, I use it often to find screenshots that I've taken with other tools. I simply search for png then sort by Date Modified in descending order. The latest screenshot is always instantly available at the top of the file list.

Did I mention how much I love this tool?
On a personal note...
This blog is now listed on the FeedSpot list of top Microsoft Access blogs. Check it out:

Thanks for reading, commenting, and following along on social media!
External references




Referenced articles

