HOW TO: Create a Custom ActiveX Control with twinBASIC
Did you ever wish you could build a custom control for Microsoft Access forms and reports? With twinBASIC, that's a 15-minute project.


The Microsoft Access community is about to get a massive infusion of innovation thanks to the continued development of twinBASIC.
In the past, developing ActiveX controls–custom controls that you could insert onto a Microsoft Access form or report–required a completely different skill set than most Access developers had. You could build them in VB6, but that meant they would never be able to work with 64-bit Access. The other option was to build them in a different language entirely. While certainly not impossible, it required learning new syntax and added friction to the process.
twinBASIC is about to change all of that.
Creating an ActiveX Control
If you have a spare 15 minutes, you can follow these steps to create your first custom ActiveX control.
The hardest part of building these types of controls is setting up all the COM plumbing. twinBASIC makes that part a breeze. By removing the common stumbling blocks that prevent most people from even getting started, it will free up more time for the fun part: developing the actual controls.
A Few Caveats
twinBASIC is very much a work in progress. The custom IDE is constantly changing, currently averaging several new releases each week as it is still in its early beta stages. The sample project I reference is also likely to change and evolve over time. Depending on when you read this, some of the specifics may differ. However, the overall approach should be largely the same.
Without further ado, let's jump right into the steps.
Step-by-Step
1. Install twinBASIC
Get the latest step-by-step instructions for installing twinBASIC at HOW TO: Install twinBASIC.
 Mike Wolfe
2. Create a new ActiveX Control Project
- Click the big "ActiveX Control" button at startup
- Click "Open"

Note: If you missed it at startup, you can go to File > New Project... to show the above dialog box.
3. View/Modify the Form
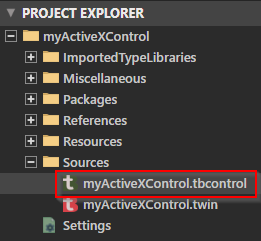
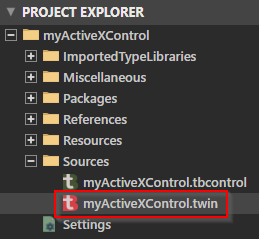
- Click on myActiveXControl.tbcontrol in the Sources folder of the PROJECT EXPLORER pane
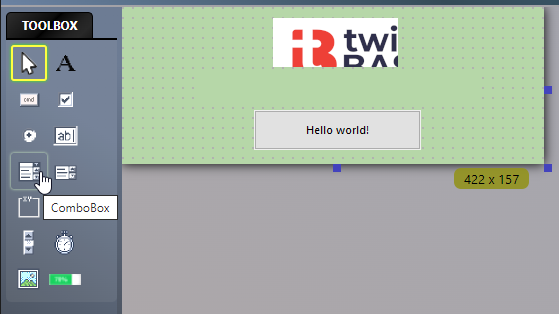
- Use the TOOLBOX to add controls, like text boxes, combo boxes, etc.
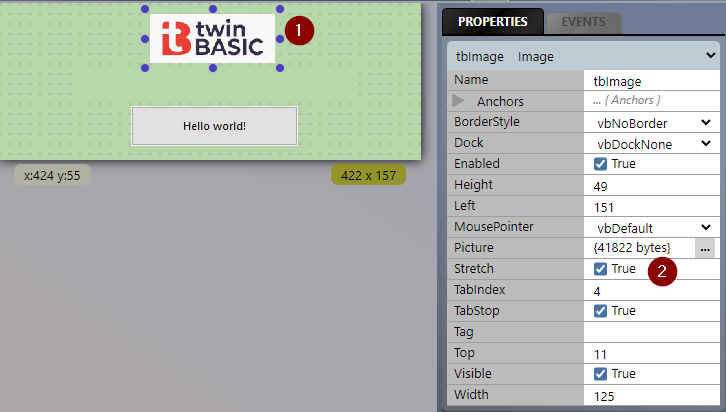
Click once on the twinBASIC logo, then go to the Properties tab and change Stretch from False to True by checking the box(UPDATE [2022-04-24]: this property is now set to True within the sample)
4. View/Modify the Code
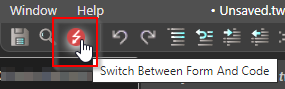
There are two ways to switch to the code behind the form:
- Click on myActiveXControl.twin in the Sources folder of the Project Explorer OR
- Click on the red lightning bolt icon while the Form tab is selected to switch back and forth between form and code
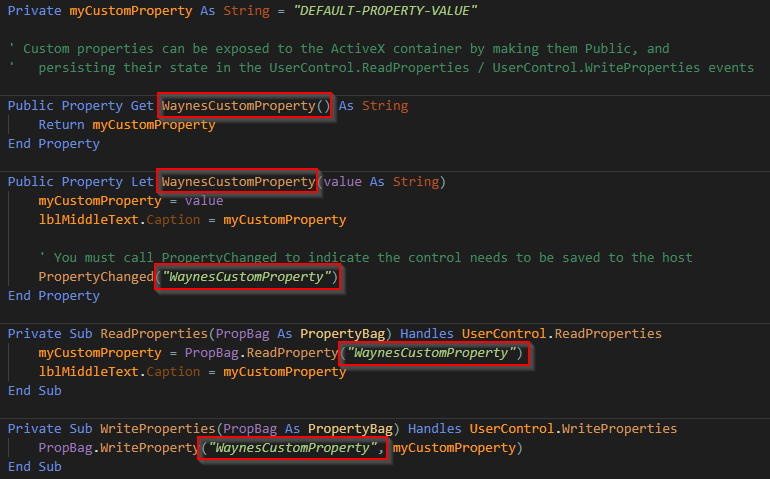
5. Add Custom Properties
You can create custom properties that will appear in the Access properties window when we load the ActiveX control on our Access form.
Wayne provides a simple proof-of-concept:
We'll see what this looks like in Access in a few moments.
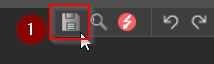
6. Save and Build the Project
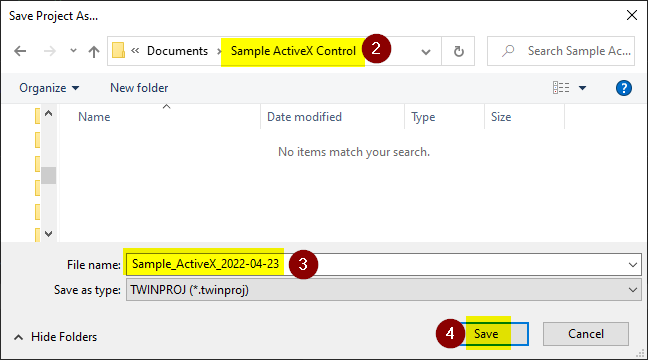
- Click the disk icon to "Save all changes" and choose a location to save your project (I recommend saving it in an empty subfolder)
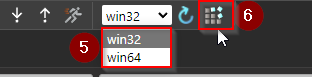
- Choose the "win32" or "win64" build configuration to match your VBA bitness (this is very important!)
- Click the build icon to "Build" the ActiveX control's DLL
- Check the DEBUG CONSOLE pane for any error messages
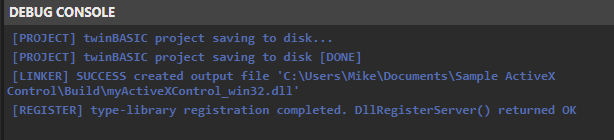
DllRegisterServer() returned OK" in the Debug Console, the next steps probably won't work. You'll need to troubleshoot any errors that get logged to the Debug Console.7. Add the ActiveX Control to an Access Form
Note: The following steps may vary slightly by Access version.
- Open Microsoft Access
- Create a new form and go into Design view
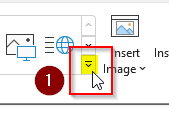
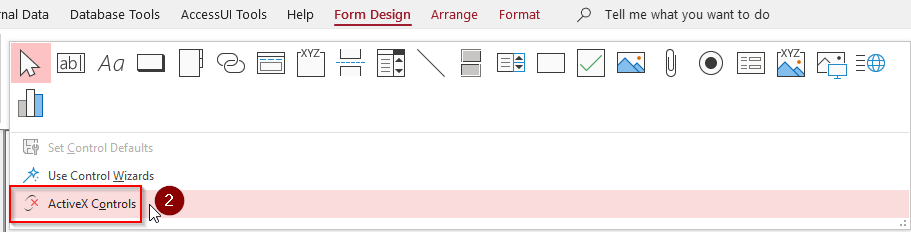
- Click the "More" button in the bottom right of the "Form Design" ribbon tab's "Controls" group
- Choose insert "ActiveX Controls"
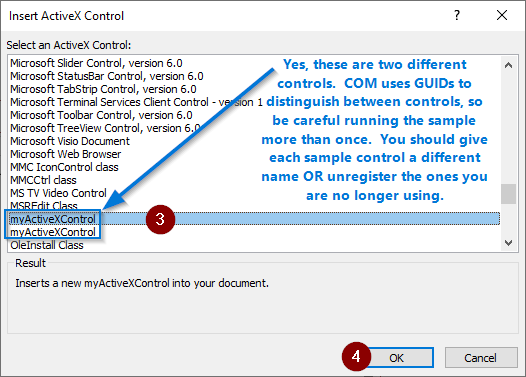
- Scroll down to and select "myActiveXControl" then click [OK]
8. Set Custom ActiveX Control Properties
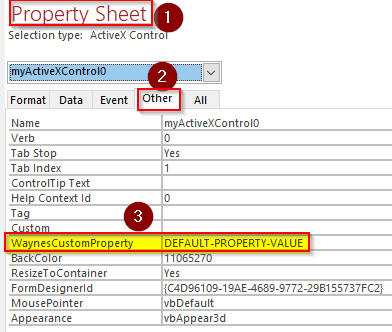
Remember earlier when I highlighted "WaynesCustomProperty?" Let's see what that looks like in Access.
- Select the newly inserted ActiveX control
- Open the Property Sheet ([F4])
- Go to the Other tab
- Change the value from "DEFAULT-PROPERTY-VALUE" to "Y'all ready for this?"
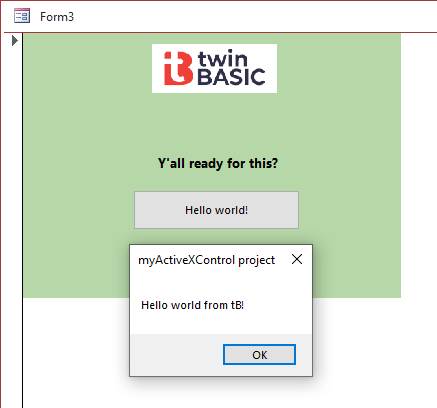
9. Test It Out!
- Switch to form view
- Click on the [Hello world!] button
- Bask in your glory
Now go forth and build great things!
Troubleshooting
My Control is Just a Green Box!
This is a known limitation of the current preview state of twinBASIC. Keep in mind, the ability to create ActiveX controls with twinBASIC is brand new. Wayne addressed this over on GitHub:
There is a known limitation for the new ActiveX control project: the control will just appear as a green block at design-time in form designers, like MS Access. At runtime, the control should appear correctly of course. Also please remember that the ActiveX Control is an early version, and will be improved to fully match VB6 behaviour over time.
Duplicate ActiveX Control Names
In the "Insert ActiveX Control" window screenshot above, there were two entries for "myActiveXControl."
That's because I ran the sample multiple times without changing the Class name in the code-behind file. In the dialog, each entry refers to a different control. Access uses their respective GUIDs to tell them apart, but the "Insert ActiveX Control" dialog does not show that information, so there is no way for us to tell which one is which.
To fix that, we just have to change the name of the Public Class, save, and re-build.
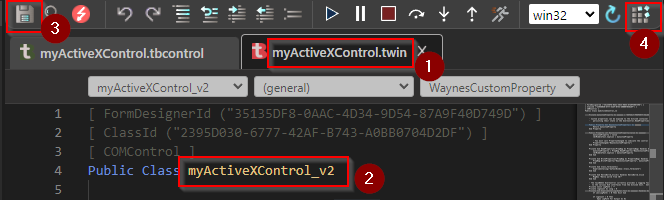

Image by Juraj Varga from Pixabay
UPDATES [2022-04-24]
- Added troubleshooting section, "My Control is Just a Green Box!"
- Bug fix: changed "Click on myActiveXControl.tbcontrol..." text to "Click on myActiveXControl.twin..." under option 1 of "Section 4. View/Modify the Code"
UPDATE [22-08-12]: Update instructions for installing twinBASIC.