HOW TO: Create a Tool Window in the VBIDE with twinBASIC
Move over Rubberduck VBA and MZ-Tools. The next great VBE addin is going to be built with twinBASIC. Here are step-by-step instructions to get you started.


The VBA community is about to get a massive infusion of innovation thanks to the continued development of twinBASIC.
In the past, developing VBIDE Add-Ins–custom functionality that you could add to the VBA development environment–required a completely different skill set than most VBA developers had. You could build them in VB6, but that meant they would never be able to work with 64-bit VBA. The other option was to build them in a different language entirely. While certainly not impossible, it required learning new syntax and added friction to the process.
twinBASIC is about to change all of that.
Creating a VBIDE Add-In
If you have a spare 15 minutes, you can follow these steps to create your first VBIDE add-in.
The hardest part of building these types of controls is setting up all the COM plumbing. twinBASIC makes that part a breeze. By removing the common stumbling blocks that prevent most people from even getting started, it will free up more time for the fun part: developing the actual functionality.
A Few Caveats
twinBASIC is very much a work in progress. The custom IDE is constantly changing, currently averaging several new releases each week as it is still in its early beta stages. The sample project I reference is also likely to change and evolve over time. Depending on when you read this, some of the specifics may differ. However, the overall approach should be largely the same.
Without further ado, let's jump right into the steps.
Step-by-Step
1. Install twinBASIC
Get the latest step-by-step instructions for installing twinBASIC at HOW TO: Install twinBASIC.
 Mike Wolfe
2. Open the VBE Add-In Sample Project
- Click the "Samples" tab on the dialog that appears at startup
- Click "Sample 4. MyVBEAddin (NEW with ToolWindow)"
- Click "Open"
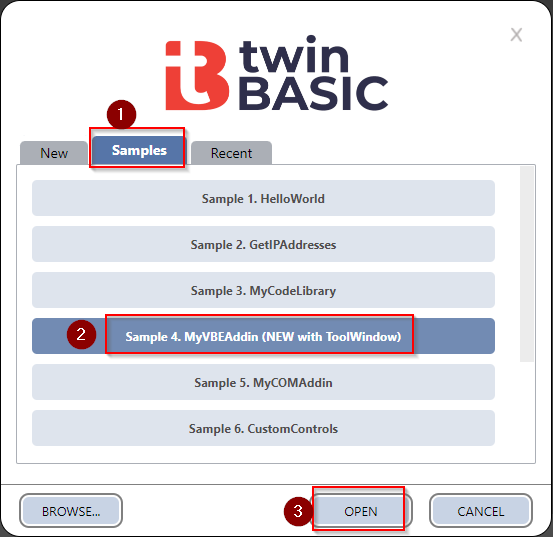
Note: If you missed it at startup, you can go to File > New Project... to show the above dialog box.
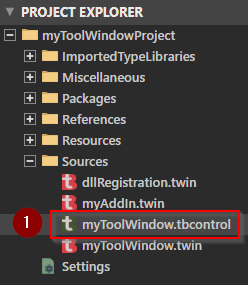
3. View/Modify the Form
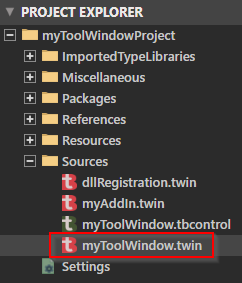
- Click on myToolWindow.tbcontrol in the Sources folder of the PROJECT EXPLORER pane
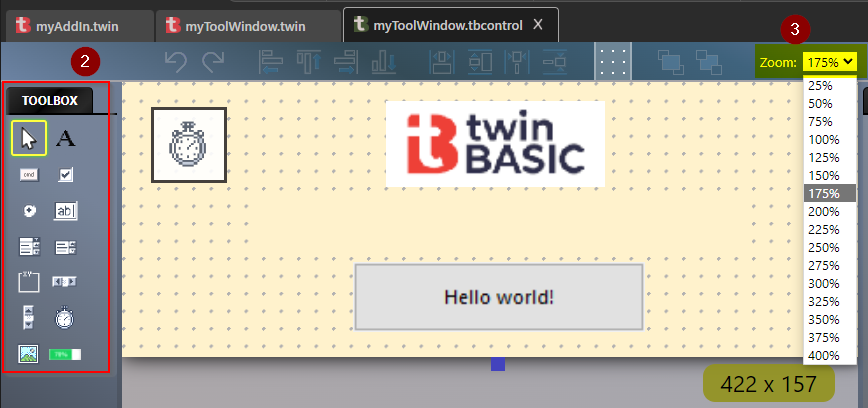
- Use the TOOLBOX to add controls, like text boxes, combo boxes, etc.
- If you are working on small details, use the Zoom dropdown to zoom in on the form (It turns out that it IS legal to have a zoom feature when designing forms. Who knew?!)
4. View/Modify the Code
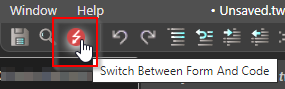
There are two ways to switch to the code behind the form:
- Click on myToolWindow.twin in the Sources folder of the Project Explorer OR
- Click on the red lightning bolt icon while the Form tab is selected to switch back and forth between form and code
5. Change the Friendly Name of the Add-In
By default, the sample code uses the current project name from the Settings window as the "FriendlyName" that is visible in the Add-Ins Manager in VBA.
To change that name (and the add-in's description), we can modify the DllRegisterServer() function. This function gets called by regsvr32.exe when the add-in gets registered. twinBASIC will call regsvr32.exe for you as part of the build process. However, if you want to use the add-in on another computer, you will need to call regsvr32.exe yourself, passing the name of the compiled .dll as a command line argument.
- Open
dllRegistration.twinunder Sources in the Project Explorer - Scroll to the
DllRegisterServer()function - On the "FriendlyName" line, replace the
AddinProjectNameconstant with the string that you want to appear in the Add-Ins Manager list - On the "Description" line, replace the
AddinProjectNameconstant with the string that you want to appear in the Description box in the bottom-left corner of the Add-Ins Manager list

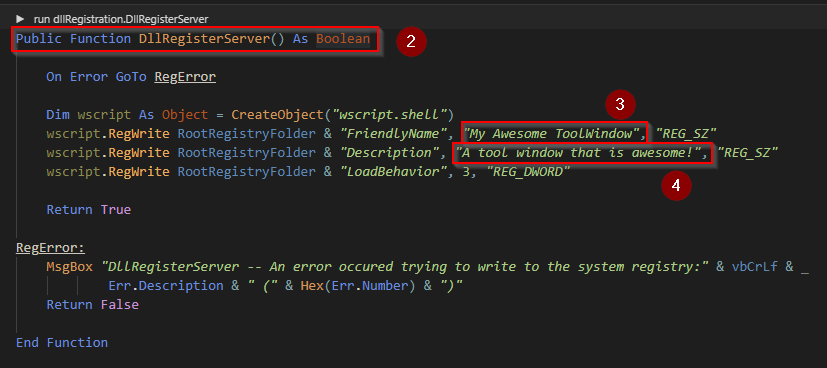
If you don't want your new add-in to be loaded at startup for whatever reason, you can change the "LoadBehavior" value from 3 to 0.
We'll see what effect this has in VBA in a few moments.
6. Save and Build the Project
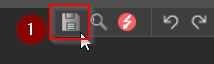
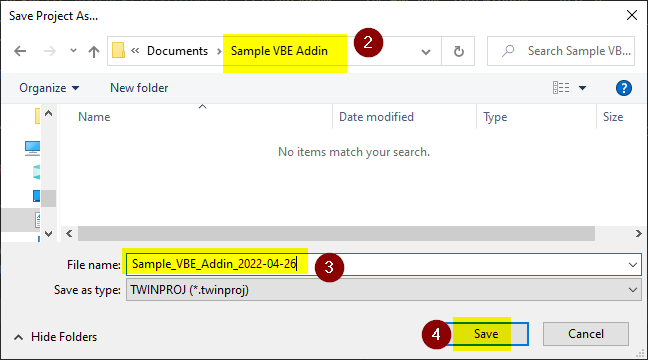
- Click the disk icon to "Save all changes" and choose a location to save your project (I recommend saving it in an empty subfolder)
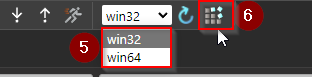
- Choose the "win32" or "win64" build configuration to match your VBA bitness (this is very important!)
- Click the build icon to "Build" the Add-In DLL
- Check the DEBUG CONSOLE pane for any error messages
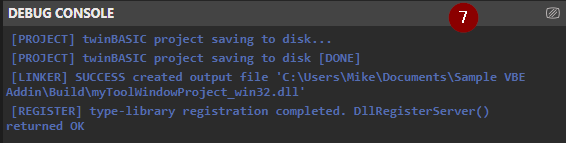
DllRegisterServer() returned OK" in the Debug Console, the next steps probably won't work. You'll need to troubleshoot any errors that get logged to the Debug Console.7. Open the VBA Editor
- Open any Office application (Access, Excel, Word, etc.)
- Press [Alt] + [F11] to open the VBA Editor
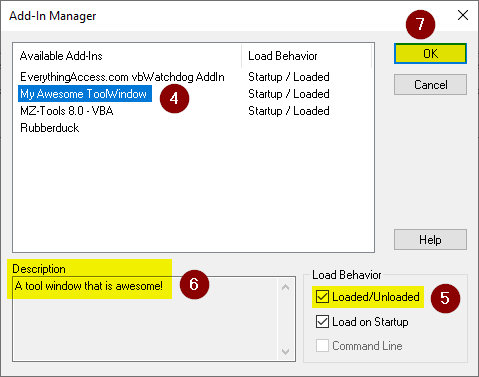
- Go to "Add-Ins" > "Add-In Manager..."
- Select My Awesome ToolWindow from the list of "Available Add-Ins"
- Verify its "Loaded/Unloaded" check box is checked
- Confirm the Description matches what you entered in
DllRegisterServerabove - Click [OK] to close the dialog
8. Show the Tool Window
- Go to "Add-Ins" > "Toggle myToolWindow Visibility"

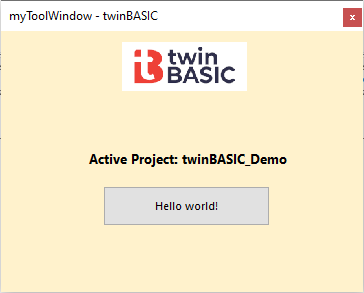
The tool window should appear as a floating window:
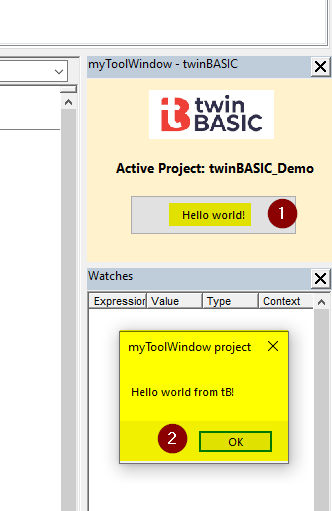
9. Dock the Tool Window and Test the Button
The tool window can be moved, resized, and docked just like other VBE tool windows (e.g., the Immediate Window, Call Stack, Watch Window, Project Explorer, etc.).
When you click on the Hello World! button, a MsgBox pops up saying, "Hello world from tB!"
Now go forth and build great things!
Troubleshooting
Clobbered Addins
If you download and run the sample multiple times, you may end up overwriting a previous add-in that you built.
If this happens, chances are it's because both add-ins were registered using the same qualified class name as the add-in's ProgID (programmatic identifier):
myToolWindowProject.myAddIn
The VBIDE add-in gets registered in the HKCU\SOFTWARE\Microsoft\VBA\VBE\6.0\Addins[64]\ registry key along with all the other VBE add-ins:
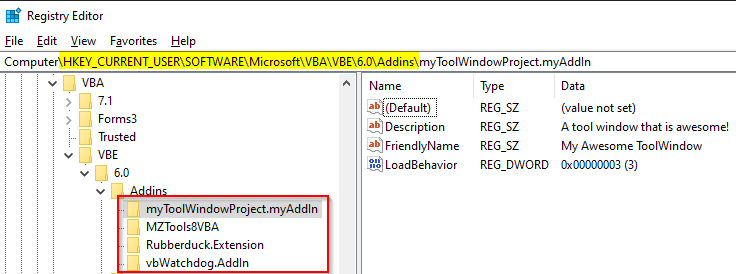
Thus, if you register a second add-in without changing the ProgID from the default of "myToolWindowProject.myAddIn", then the second add-in will overwrite the first one. You can read more about how all of this works here:
Mike Wolfe
FIX: Avoid Clobbered Addins
tl;dr: Give each VBE addin a unique Project:Name to avoid this problem.
To avoid having your add-ins overwrite each other, you need to ensure each one has a unique AddinQualifiedClassName value in the dllRegistration module.
When you first download the sample, that value evaluates to myToolWindowProject.myAddIn.
You can change that value by updating either of the two values that comprise it:
AddinProjectNameand/orAddinClassName
Changing AddinProjectName
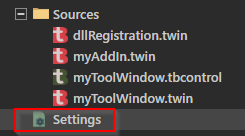
You can change the Project:Name by clicking on "Settings" in the Project Explorer pane, then editing the value of Project:Name (it's at the top of the list of settings).

NOTE: twinBASIC fetches this value via the VBA.Compilation.CurrentProjectName property. The Compilation class appears to be a new class that Wayne Phillips added to the standard VBA library in twinBASIC.
Changing AddinClassName
This is simply a constant string that gets set in the dllRegistration module.
However, it is very important that this string matches the name of your addin's class (the one that Implements IDTExtensibility2). So, if you change one you need to make sure you change the other to match. You will also need to change any references to the class module, such as the line Public myAddIn As myAddin at the top of the myToolWindow class.
Because of all the pitfalls involved with changing the addin class name, I strongly recommend that you leave it set to the default myAddIn and use the Project:Name setting to differentiate your add-ins (at least while you are still experimenting).
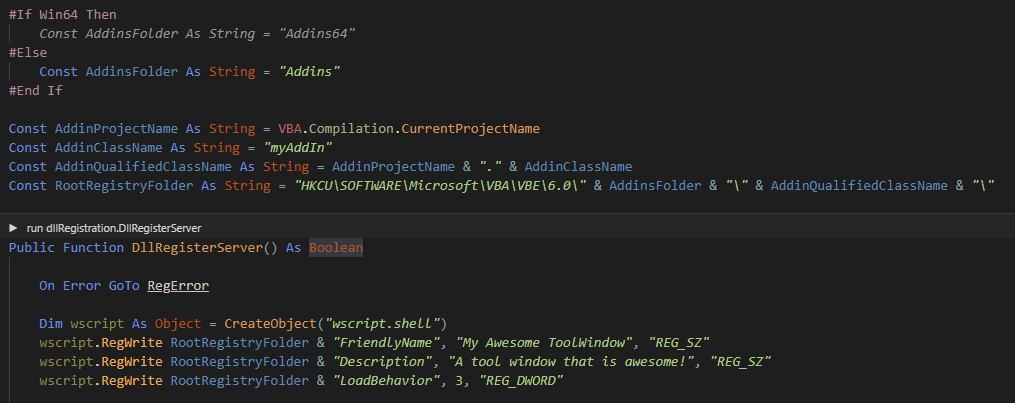
Image by Hands off my tags! Michael Gaida from Pixabay
UPDATE [22-08-12]: Update instructions for installing twinBASIC.