Highlight the Current Control in an Access Form...Without VBA!
Let's adapt Colin Riddington's excellent no-code current control highlighting technique to work with different form background colors.

Colin Riddington (a.k.a., IslaDogs) posted a clever technique for highlighting the active text box or combo box on a Microsoft Access form without using any code whatsoever:
 Colin Riddington
The technique takes advantage of a bit of a quirk in Access text boxes and combo boxes. Even when these controls have a "Transparent" Back Style, the background color becomes visible when the control has the focus.
The idea, then, is to set the background color for your text boxes and combo boxes to a highlight color while setting the background style to transparent. This will hide the highlight color when the control does not have the focus, but display it when the control does.
- Back Color:
#FFF200 - Back Style:
Transparent
Here's what this looks like in action:
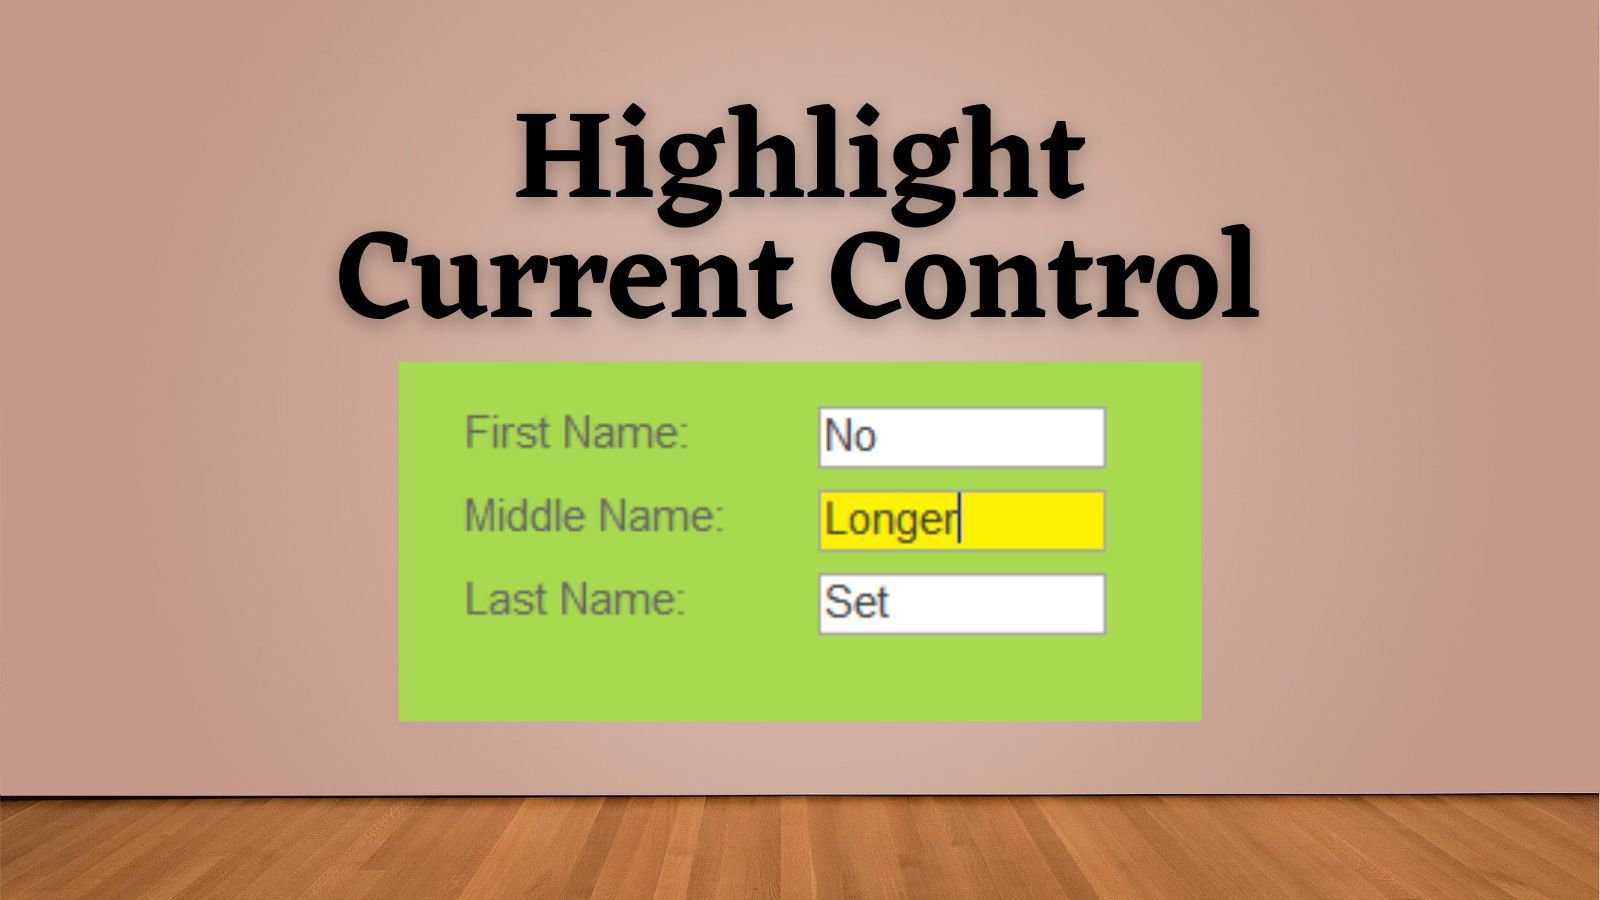
Dealing with Non-White Backgrounds
One downside of this approach is that it doesn't work as well if you use a different background color for your forms than for your text and combo boxes.
For example, here's the same form from above if we set the background color to green:
One solution to this problem is to place identically sized rectangles directly behind the text boxes and set them to your preferred text box back color, such as white (#FFFFFF).
Here's what that technique looks like in action:
Sizing and Aligning the Rectangles
Manually sizing and aligning the rectangles would be a tedious, error-prone process.
Instead, I highly recommend taking advantage of some legacy shortcut keys to streamline the process of aligning and resizing the rectangles:
 Mike Wolfe
Before we get to that, though, let's start by setting some default properties of the rectangle control on our form:
- Select the Rectangle control tool to change its default properties
- Set "Special Effect" to Flat
- Set "Border Style" to Transparent
- Set "Back Color" to #FFFFFF
- Set "Width" to 0.1"
- Set "Height" to 0.1"
With these defaults, we can click inside of our existing text boxes to create a small square rectangle that we can reliably reposition and resize. Here are the step-by-step instructions:
- Select the Rectangle control tool
- Left-click inside the text/combo box to place a small square
- [Shift] + [Left-click] on the text/combo box to create a multi-control selection with both the rectangle and text/combo box
- [Alt] + [O], [A], [L]: align left
- [Alt] + [O], [A], [T]: align top
- [Alt] + [O], [S], [W]: resize to widest
- [Alt] + [O], [S], [T]: resize to tallest
- [Shift] + [Left-click]: deselect rectangle control (text/combo remains selected)
- [Alt] + [O], [R]: bring to front
Here's a screen recording of what this looks like: