Connecting to GitHub from TortoiseHg Using SSH Keys
Step-by-step instructions to set up a completely seamless integration between TortoiseHg and GitHub. No passwords. No Pageant. No friction of any kind.


In this article, I'm going to take you step-by-step through setting up a fully transparent connection between a Mercurial repository in TortoiseHg and that same repository running in Git and hosted on GitHub.
The hggit extension keeps everything in sync, and a saved PuTTY session means you don't need to start Pageant or enter a password* every time you interact with GitHub from TortoiseHg.
Let's get started.
* You have the option of providing a passphrase when you create your SSH key pair, but if you forgo that option you can achieve passwordless integration between TortoiseHg and GitHub.
Prerequisites
You will need the following things:
- A GitHub account
- TortoiseHg installed (tested with version 6.2)
- OpenSSH enabled in Windows
- A standalone PuTTY installation
As an alternative to performing a traditional install of those last three requirements, you can use the Chocolatey package manager for Windows. With that, you can install the requirements from an admin cmd window using the following commands:
choco install tortoisehg
choco install openssh
choco install putty
High-Level Overview
Here are the basic steps. We'll cover the details below.
- Generate a public-private SSH key pair
- Add the public key to your GitHub account
- Convert the private key to a PuTTY-compatible format
- Create a named PuTTY SSH session
- Enable hggit in TortoiseHg
- Clone an existing GitHub repository using the
git+sshprotocol and your named PuTTY SSH session from step 4
Generating the Public-Private Key Pair
We're going to use ssh-keygen.exe as recommended by GitHub.
- Open a non-admin
cmdwindow - Change directories to
C:\Windows\System32\OpenSSH\ - Run the following command:
ssh-keygen -t ed25519 -C "{your GitHub email address}" - Press [Enter] to accept the default folder:
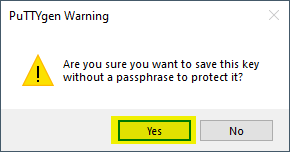
C:\Users\{your_login}\.ssh\ - [Optional] Enter a passphrase when prompted or just press [Enter] to skip
- This will create two new files:
• a private key with no extension
• a public key with extension.pub - [Optional] Rename the private key by giving it the extension
.privatekeyto make it easier to identify later
C:\Windows\System32\OpenSSH>ssh-keygen -t ed25519 -C "mike@grandjean.net"
The above command created two files in my C:\Users\Mike\.ssh\ folder, which I renamed as follows:
id_ed25519-->github-mwolfe02_ed25519.privatekeyid_ed25519.pub-->github-mwolfe02_ed25519.pub
NOTE: If ssh-keygen.exe is not in C:\Windows\System32\OpenSSH\, first make sure that the OpenSSH Optional Windows Feature has been installed. If it has, then I recommend using the Everything utility to search for the executable.
Add Public Key to GitHub Account
- Sign in to GitHub
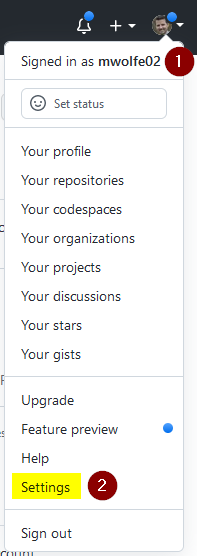
- Click on your profile photo in the top right then choose Settings
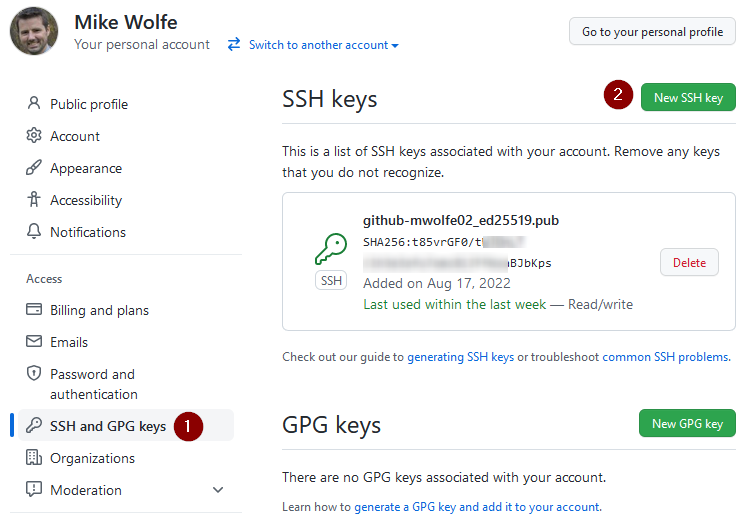
- Click on "SSH and GPG keys" then click [New SSH Key]
- Upload the
.pubfile you created earlier
Convert Private Key to PuTTY Format
PuTTY cannot directly use the private key we generated using ssh-keygen. The good news is that it is easy to convert the key to a format PuTTY can use with the puttygen.exe utility.
- Open PuTTY Key Generator (puttygen.exe)
- Click the [Load] button
- Switch the file extension filter from .ppk to All Files (*.*)
- Browse to find the
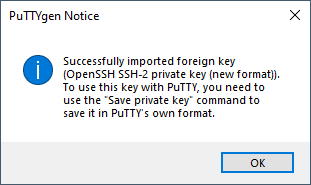
.privatekeyfile, select it, and click [Open] - Click [OK] to acknowledge the successful import of the private key
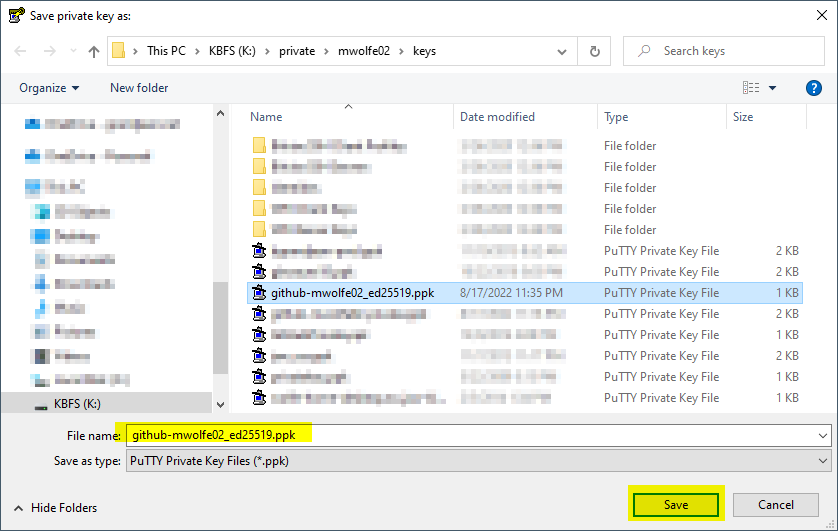
- Click [Save private key] and save the key with the default .ppk (PuTTY Private Key) extension


Connect via PuTTY
Create the Configuration in PuTTY
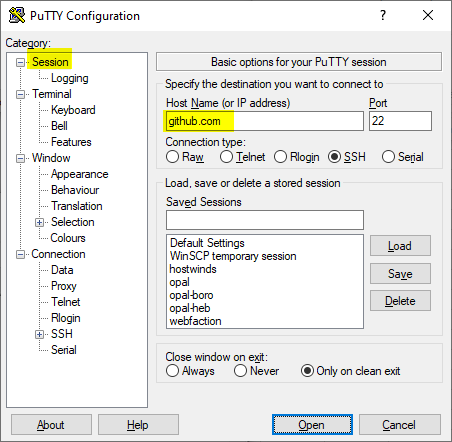
- Open PuTTY
- Set Host Name to github.com
- Click on Data in the nav tree
- Enter git for the Auto-login username (do NOT enter your GitHub user name)
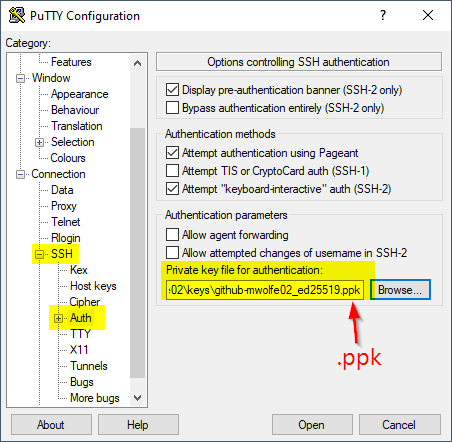
- Expand the SSH node in the nav tree
- Click on Auth in the nav tree
- Click [Browse...] and select the *.ppk file you just saved
- Click on Session in the nav tree
- Enter github in the Saved Sessions text box*
- Click [Save] to save the named session
* You can name the session anything you want. If you name it something other than "github," you will need to use that other name when you create the remote path in TortoiseHg later.


Test the Configuration
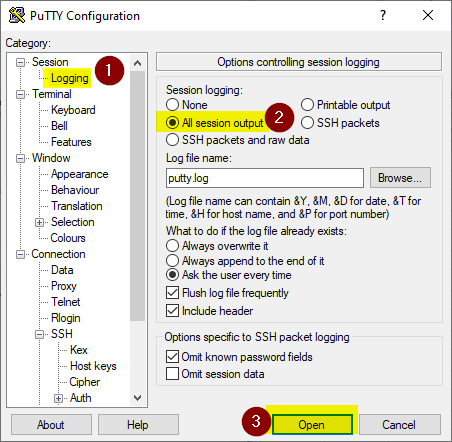
Before you try to rely on this configuration in TortoiseHg, you should first test it from within PuTTY. This is a bit tricky to do, because GitHub does not actually provide any shell access. The way to test it, then, is to enable session logging before attempting to open the connection.
- Click on Logging in the nav tree
- Switch "Session logging" radio button to (o) All session output
- Click [Open] to open a session
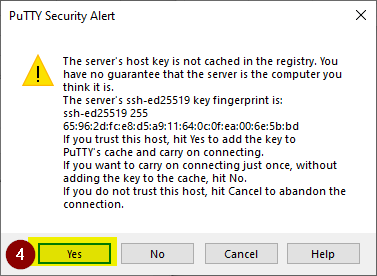
- Click [Yes] to cache the GitHub Host Key fingerprint (you only need to do this once)
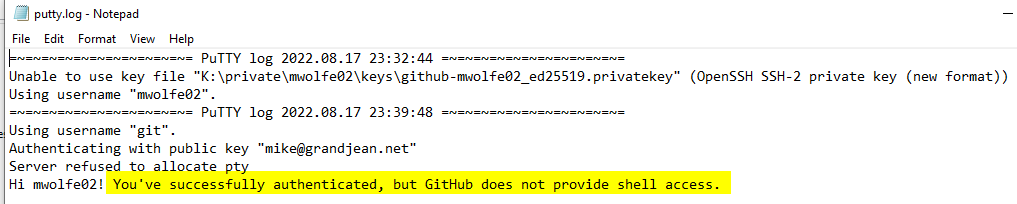
- Open the putty.log file
- Look for the words, "Hi {your_github_user_name}! You've successfully authenticated, but GitHub does not provide shell access."
If your test succeeded, congratulations! You can move on to the next step. Otherwise, you will need to troubleshoot any error messages that got logged to the PuTTY log file before continuing.
TortoiseHg Setup
If you made it this far, the hard part is done. You're almost there!
Enable the hggit Extension
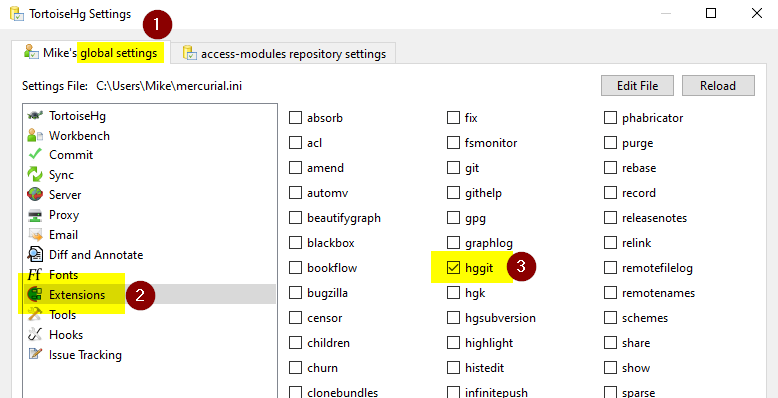
- Open TortoiseHg
- Go to File > Settings
- Click on Extensions in the nav pane
- Check the box next to [√] hggit
- Click [OK]
- Click [OK] to acknowledge the message about restarting TortoiseHg
- Close and re-open TortoiseHg
Clone an Existing Repository
- Create an empty folder in File Explorer
- Right-click inside the empty folder and choose TortoiseHg > Clone...
- In the Source combo box, enter the following:
git+ssh://github/twinbasic/twinbasic.git/ - Click [Clone]
This will clone the twinBASIC GitHub repository which (at the time of writing) comprises only four small files (README.md, 2 issue templates, and FUNDING.yml). You won't be able to push changes to this repository, but you will be able to push changes to a repository that you own on GitHub.
Use the following format for the path to the repository in TortoiseHg:
git+ssh://{saved_PuTTY_session_name}/{account_name}/{repository_name}For example, here's my company's private access-modules repository:
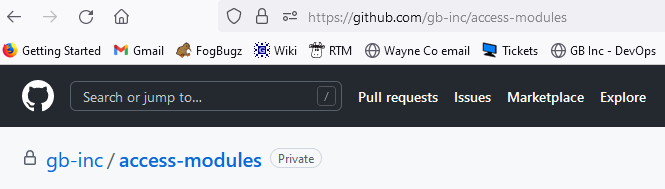
We use the following path in TortoiseHg to connect to it:
git+ssh://github/gb-inc/access-modules/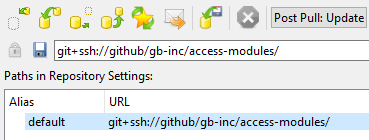
Support for Multiple GitHub Profiles
Note that "github" in the connection path above refers to the saved PuTTY session with the same name that we created earlier. If you had multiple GitHub profiles, each one could be created with their own set of keys and corresponding PuTTY saved session.
Then you could have, on the same machine, the following remote paths:
git+ssh://gh_bruce_wayne/wayne-ent/orphanage-crm/

git+ssh://gh_batman/gotham/vigilante-erp/
Conclusion
There you have it. If you are like me, you can now use your beloved TortoiseHg while still collaborating with the rest of the development world on GitHub.
Because, really, what's the point of having cake if you can't eat it, too?
Image by Victoria_Borodinova from Pixabay